DIY FABRIC-WRAPPED CORNICE BOXES
/decorating intentionally is a slow process for me. i don't usually like to put something up or add it to a room unless i love it. there have been times when we have needed a piece furniture asap and just bought something, but going slowly usually yields my favorite results. if i can make something myself (which takes time), i can save money, use what i already have, keep an eye on quality, and get something custom-made (like this, this, or this). another example: the two windows in our master bedroom.
when we finished renovating and moved into the master bedroom late last summer, we had to do something quickly to cover the windows—especially because we are on the first floor.
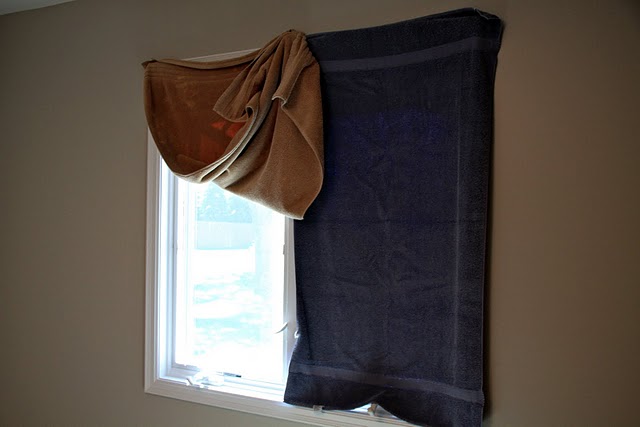
yes, we had towels over the windows for a while. i got an estimate from budget blinds and was shocked at how expensive roman shades would be. i ordered some bamboo blinds from jc penney and canceled the order at the last minute. eventually, we settled on this combination of blackout shades (ben likes to sleep in a really dark room) and cheap white curtains from target, but i was never really happy with how the windows looked and i didn't know how to fix them without spending a lot of money.
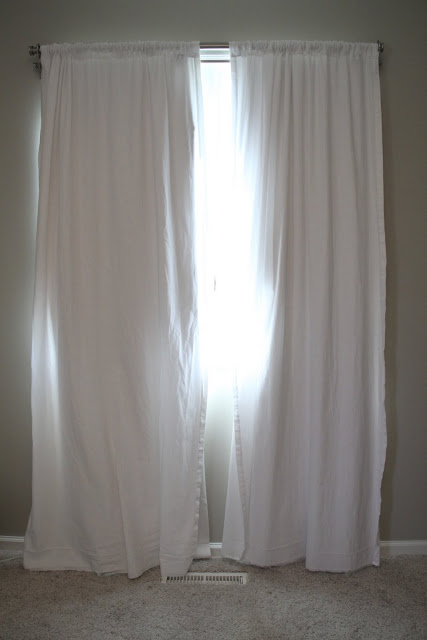
don't they look sad? the curtains shrunk a lot when i washed them. i let out the hem, but they still weren't long enough. i tried using curtain rings but i just wasn't thrilled, and the bar didn't come with finials. the whole situation really, really bothered me. for months.
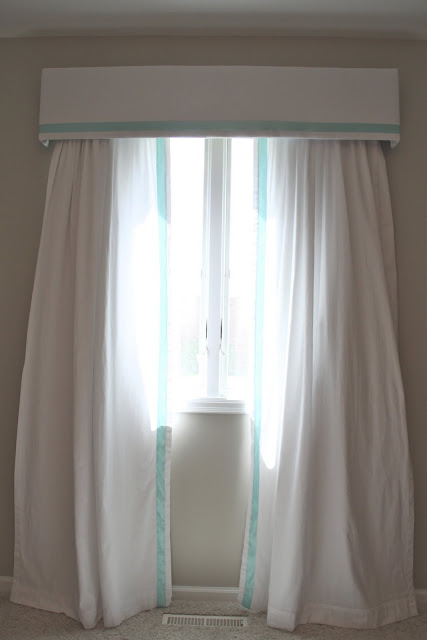
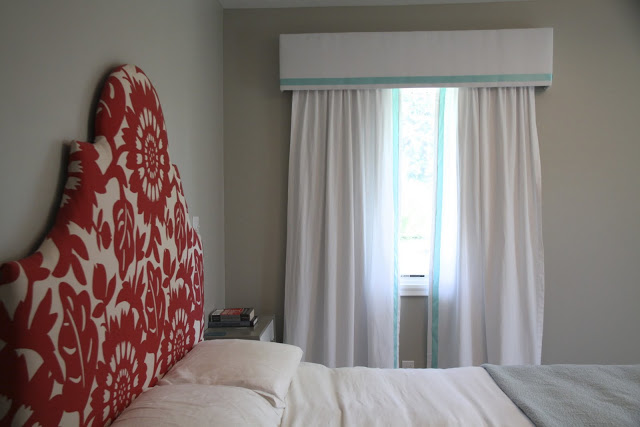
after brainstorming/researching for a long time, i decided i wanted cornice boxes with a little trim for color. here's the window now.
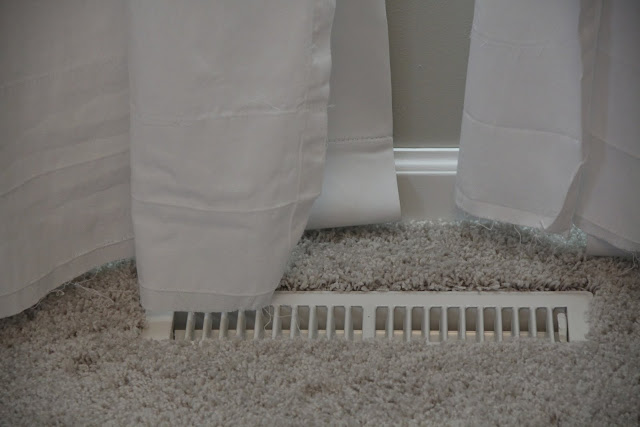
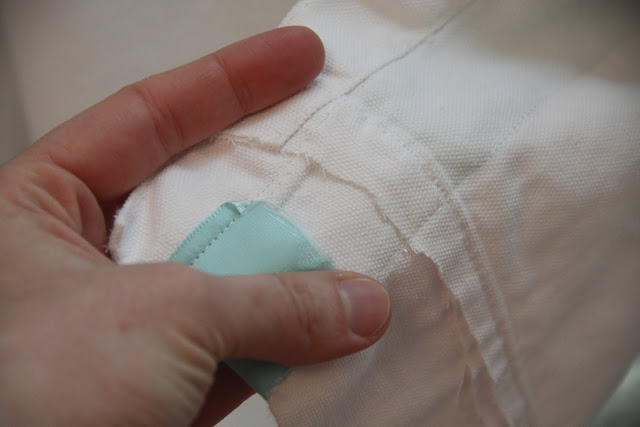
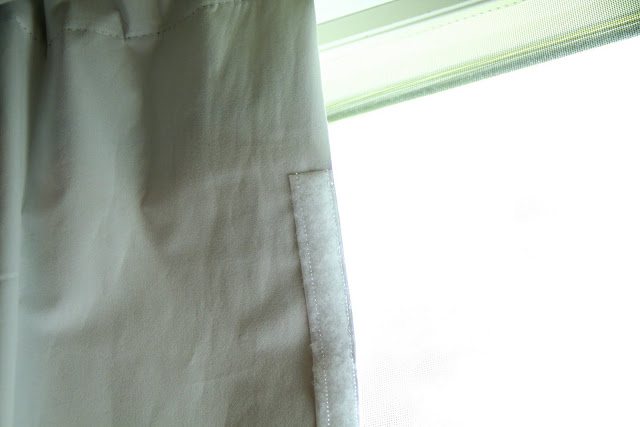
the first order of business was to fix the actual curtains. there were two problems: the blackout shades didn't really close in the middle (light seeping in) and the white curtains were too short. first, to add length to the bottom of the curtains, i made a false hem and sewed it on. (i had an extra pair of the same curtains that i used to make the hems.) i also sewed on some inexpensive ribbon in my favorite color. here's the back.
then i sewed velcro onto the blackout liners so that we can get them fully shut at night. much better!
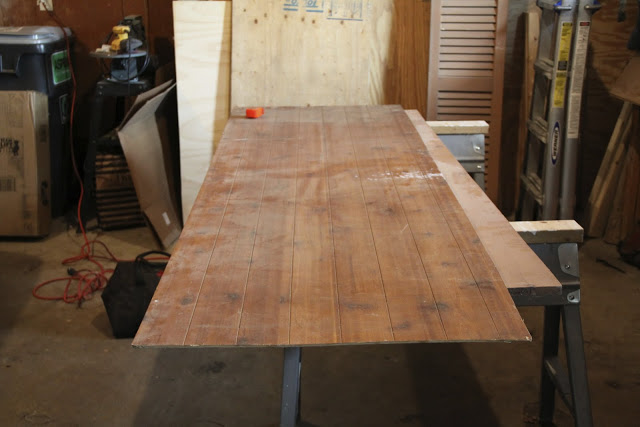
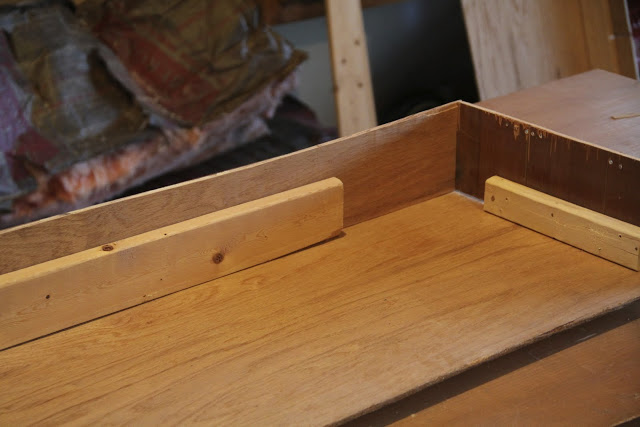
the cornice boxes were kind of a fly by the seat of my pants situation. my father-in-law let me raid his barn for some plywood, so i actually didn't have to pay for the wood (it is paneling, which really helped with making the cuts).
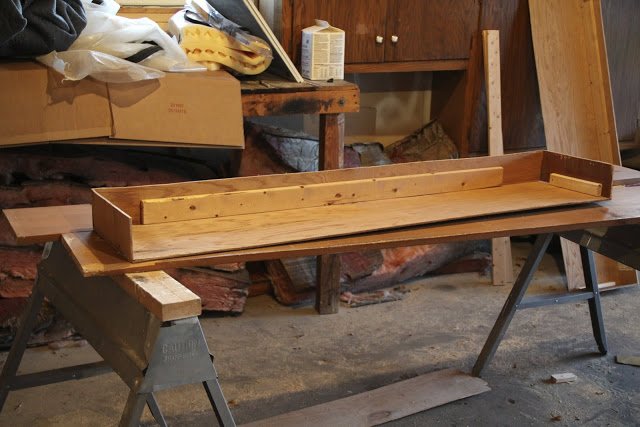
i used the circular saw to cut the pieces.

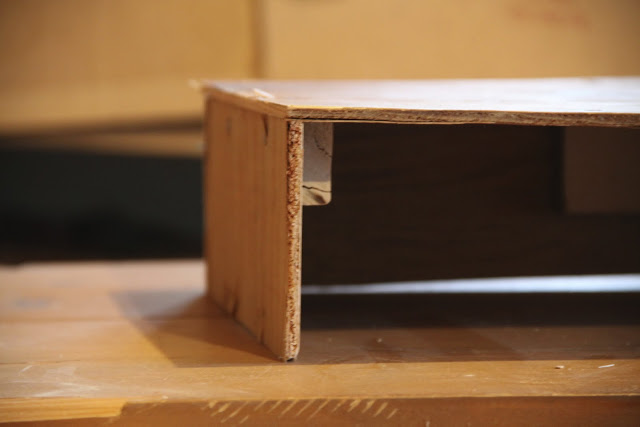
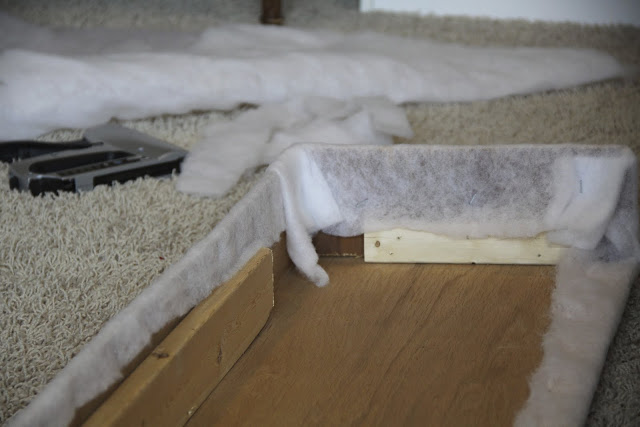
then i assembled the boxes. i used some 1x2s to help attach the pieces and give the box some heft (the paneling was only 1/4" thick or so and it was a little warped from leaning against a wall).
then i just wrapped it in batting (about four bucks with a joann's coupon) and some extra white curtains of the same variety that i already had.
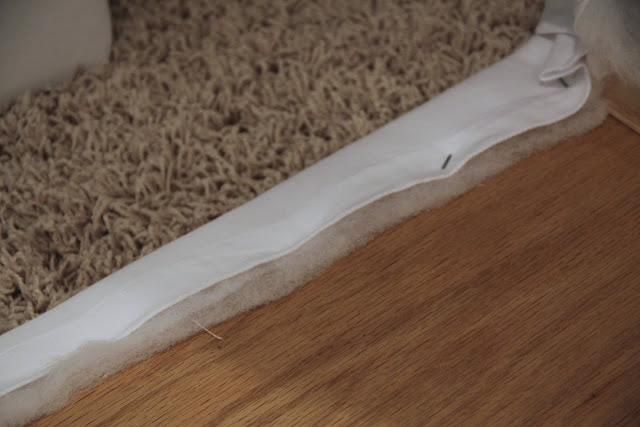
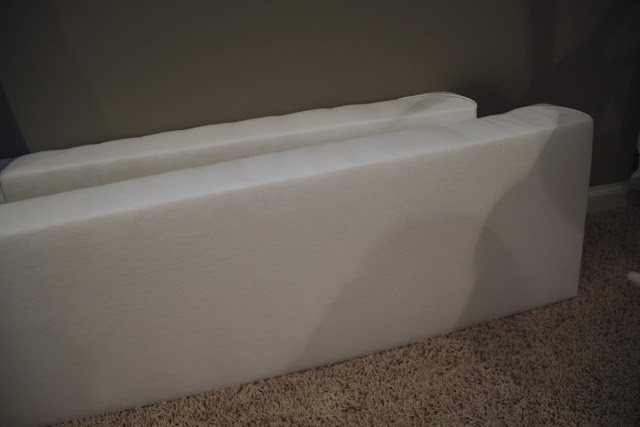
i attached the ribbon with fabric glue.

and i attached the cornice boxes to the wall with some 3" l brackets i already had (score!). i gave the curtains a good steaming and here we are! this is the other window in the room. for about 25 bucks for ribbon and batting, i am so, so happy with the new window treatments. they look much more polished, but still simple.
the room is coming together slowly but surely. we don't have bedside lamps. there is no art on the walls. and the other side of the room has a fan, a tall lamp, and a table with an alarm clock. but we'll save some money and keep adding things one at a time. onward and upward!